Getting Started with the Iris Dataset in Python (Step-by-Step)
Machine learning: Iris Dataset

If you're just getting into machine learning with Python, the Iris dataset is a great place to start. It’s simple, clean, and perfect for learning how to classify data using popular algorithms. In this post, I’ll walk you through setting up your environment, loading the dataset, and getting a feel for what the data looks like.
Let’s get into it.
Step 1: Check Your Python Setup
First, let’s make sure you’re running Python and that the key libraries are installed. Here’s a quick check using a few print statements:
import
sys print('Python: {}'.format(sys.version))
Check Installed Library Versions
You’ll need several libraries for machine learning and data analysis. Here’s how to check if they’re available and which versions are installed:
import scipy
print('Scipy: {}'.format(scipy.__version__))
import numpy
print('Numpy: {}'.format(numpy.__version__))
import matplotlib
print('Matplotlib: {}'.format(matplotlib.__version__))
import pandas
print('Pandas: {}'.format(pandas.__version__))
import sklearn
print('Sklearn: {}'.format(sklearn.__version__))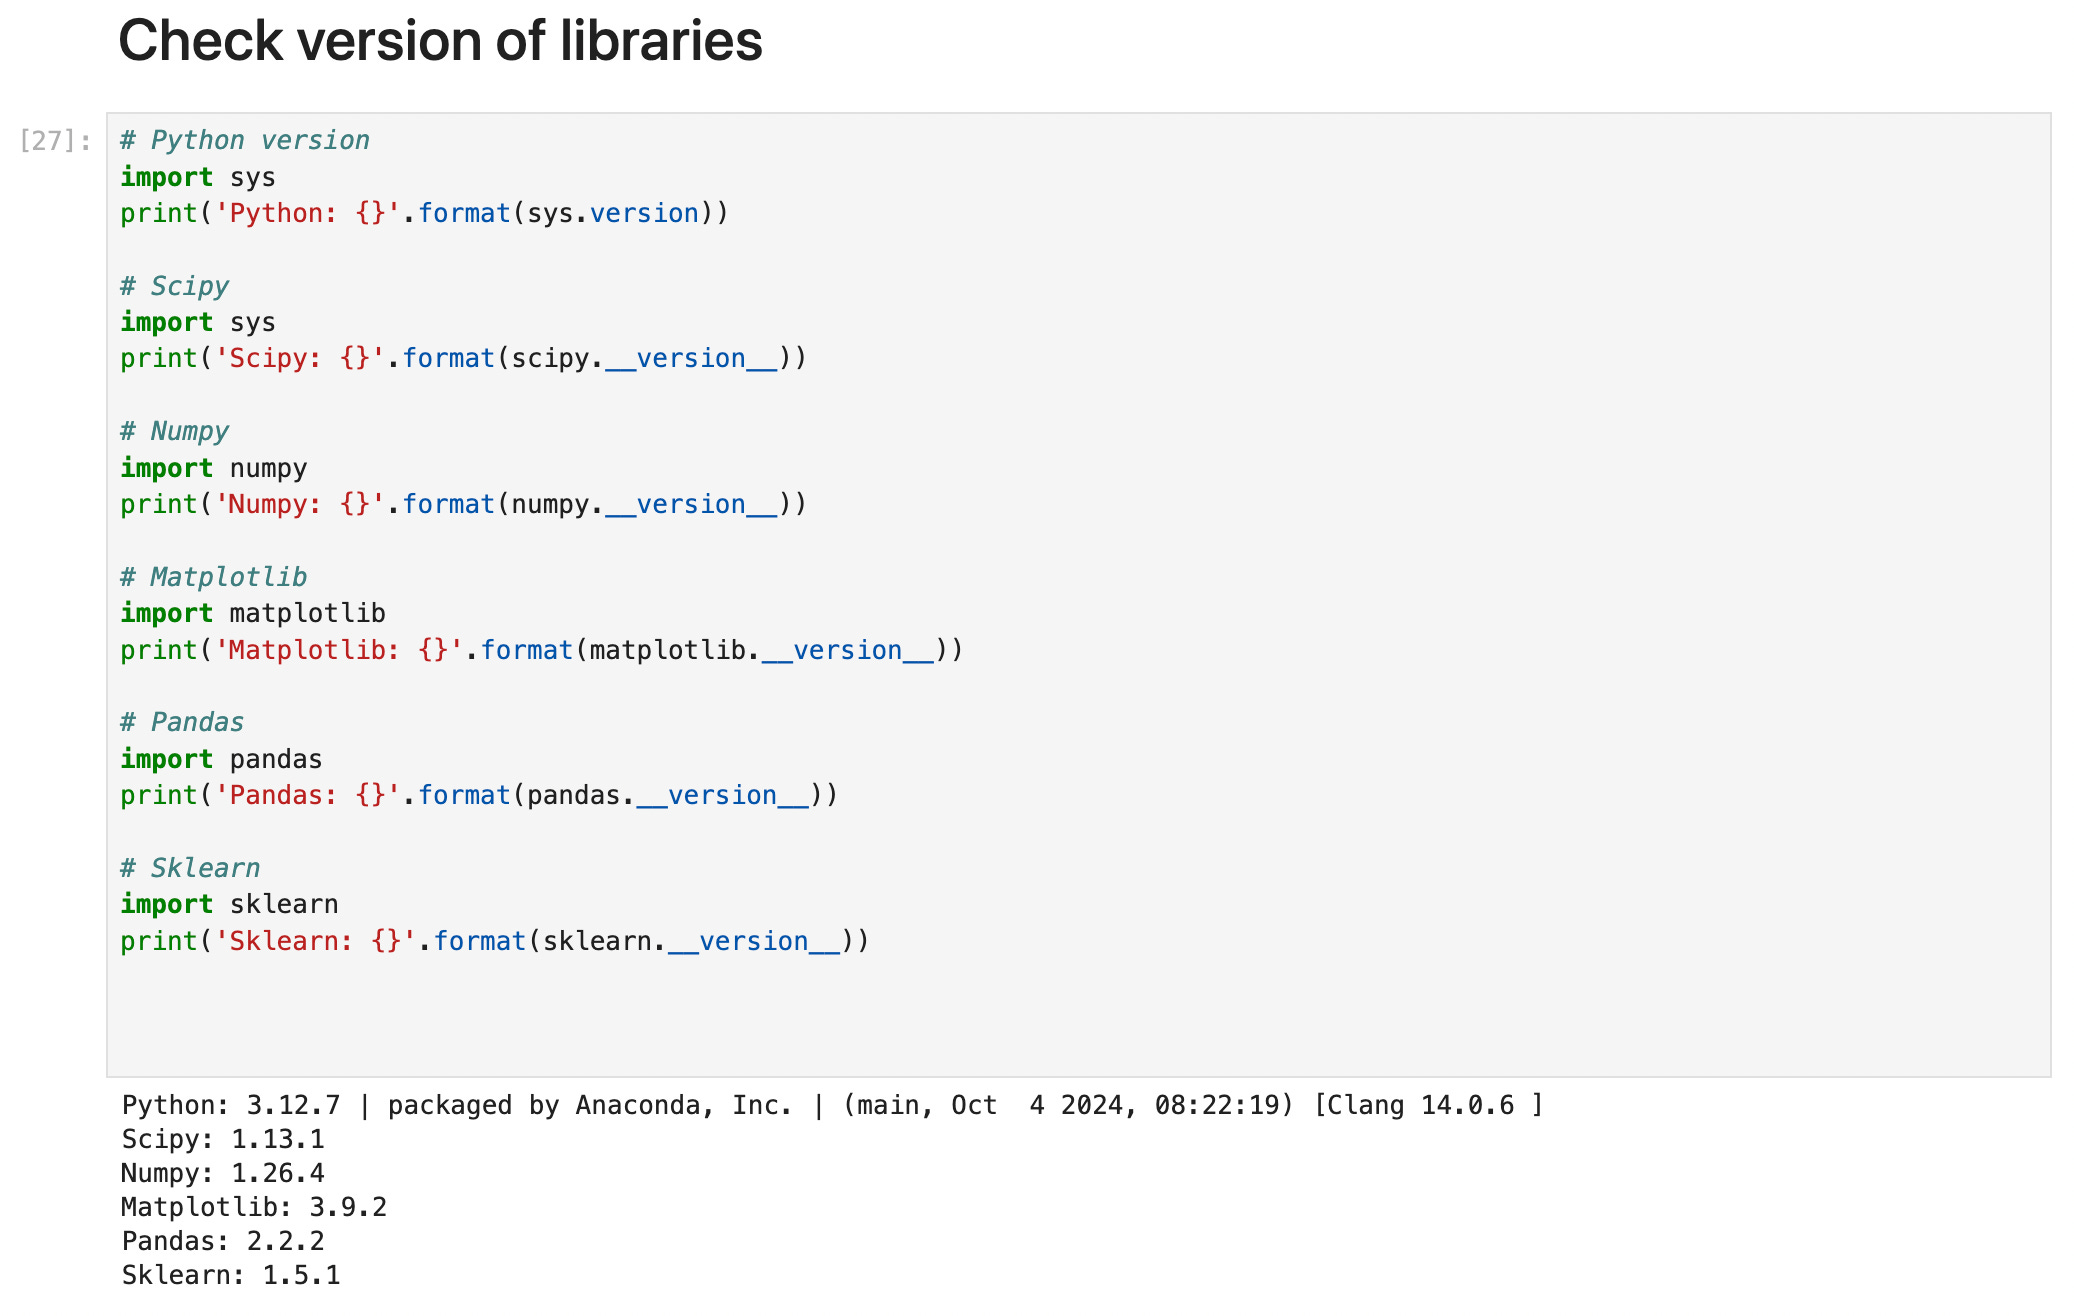
Step 2: Import Data Handling and Visualization Tools
With your environment ready, the next step is to bring in the tools that’ll help us work with and visualize the data:
import pandas as pd  # For data manipulation and analysis
from pandas.plotting import scatter_matrix  # For visualizing pairwise relationships
import matplotlib.pyplot as plt  # For plotting graphs
Step 3: Load the Iris Dataset
We’ll now load the dataset directly from the UCI Machine Learning Repository:
url = "https://archive.ics.uci.edu/ml/machine-learning-databases/iris/iris.data"
names = ['sepal_length', 'sepal_width', 'petal_length', 'petal_width', 'class']
dataset = pd.read_csv(url, names=names)
Let’s take a look at what we just loaded:
print(dataset.shape) # Shows the dimensions of the dataset print(dataset.head(20)) # Displays the first 20 rows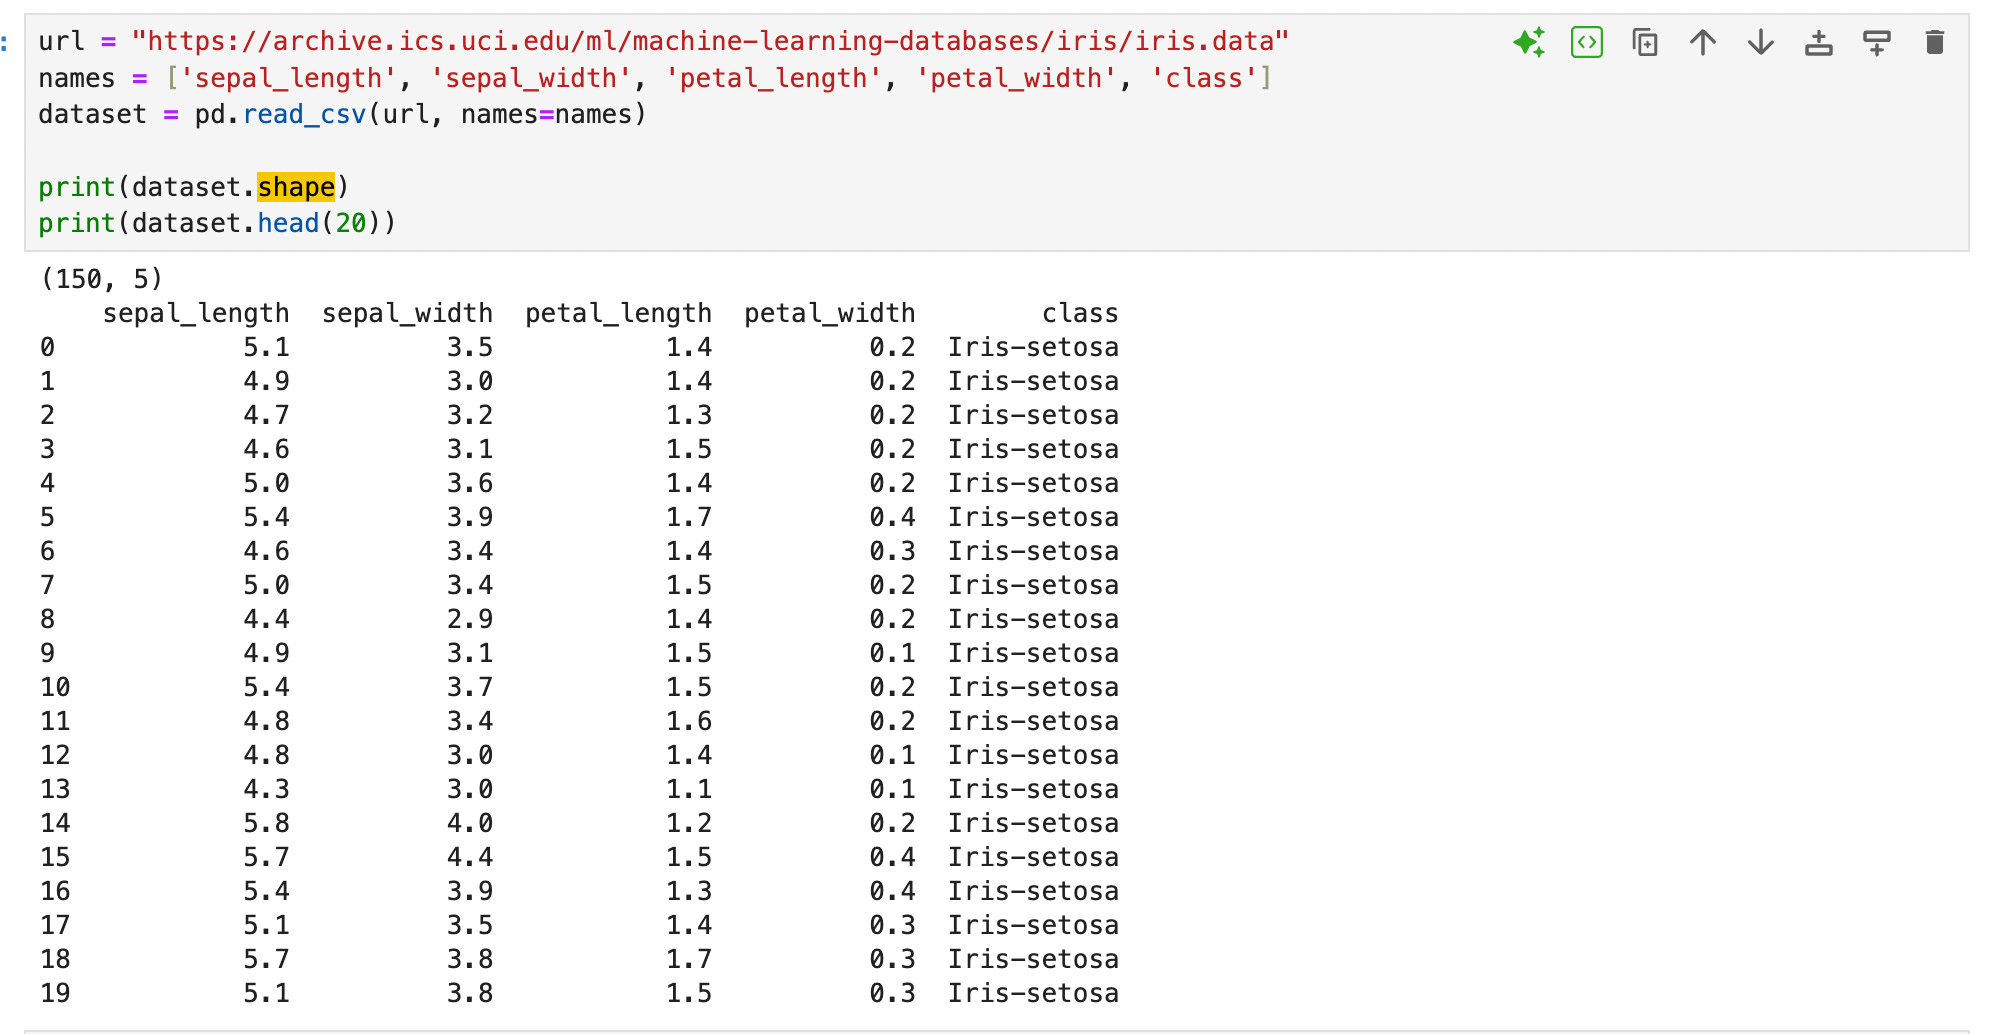
Step 4: Get Your ML Toolkit Ready
To build, evaluate, and compare machine learning models, we need some tools from Scikit-learn:
from sklearn import model_selection  # For train/test split and cross-validation
from sklearn.metrics import classification_report, confusion_matrix, accuracy_score
Step 5: Bring in the Classifiers
Let’s load some commonly used algorithms. These will give us multiple options to test on the Iris dataset:
from sklearn.linear_model import LogisticRegression
from sklearn.tree import DecisionTreeClassifier
from sklearn.neighbors import KNeighborsClassifier
from sklearn.discriminant_analysis import LinearDiscriminantAnalysis
from sklearn.naive_bayes import GaussianNB
from sklearn.svm import SVC
Step 6: Peek at the Class Distribution
Finally, let’s get a basic idea of how the classes (flower species) are distributed:
print(dataset.groupby('class').size())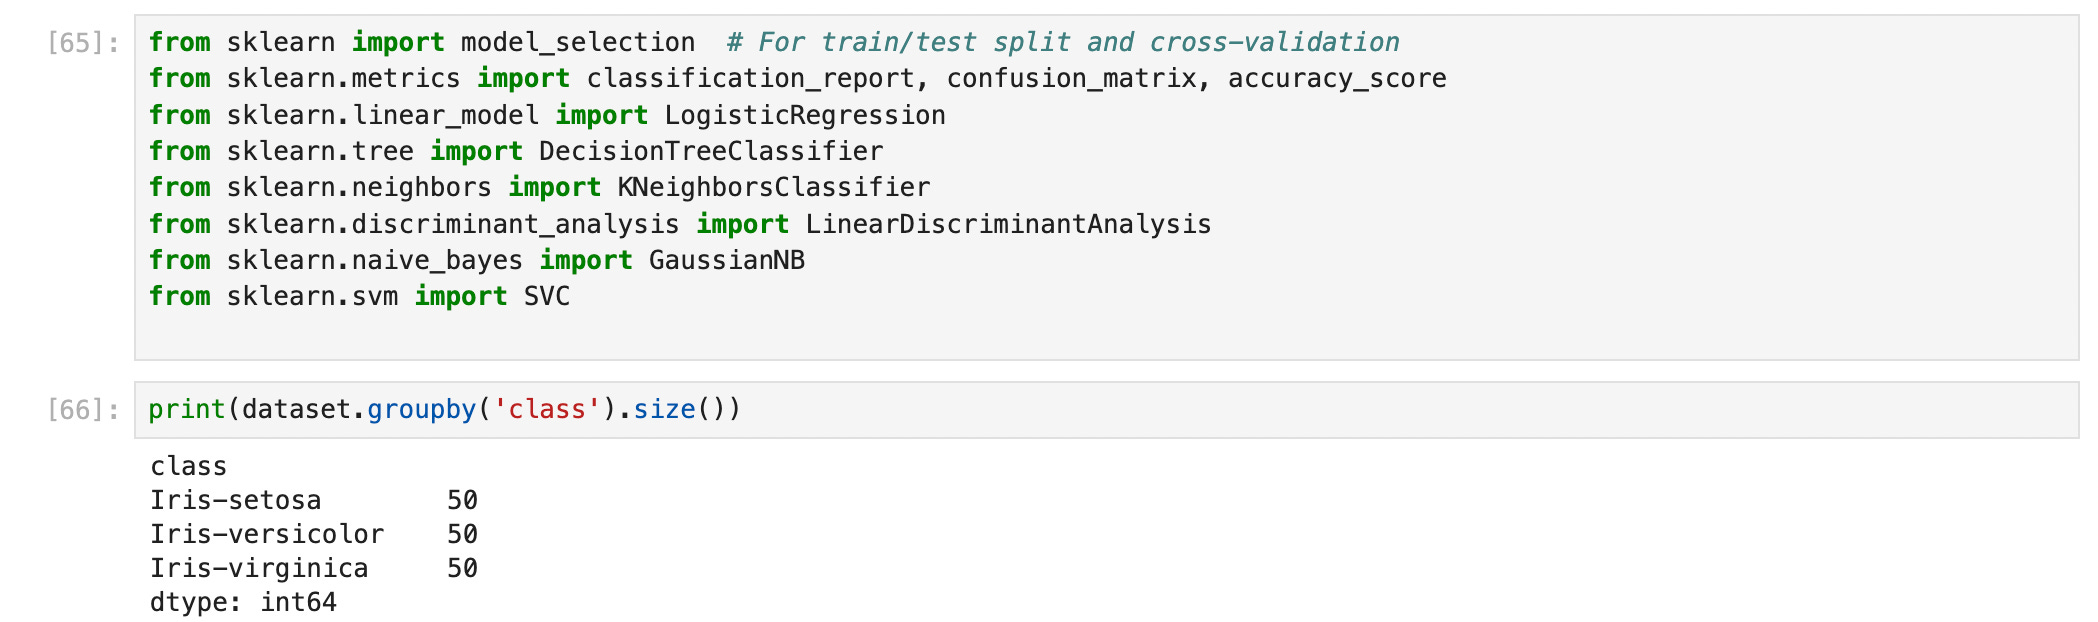
That's all for now. With your environment set and the dataset loaded, you're ready to start exploring patterns and building models. In the next post, we’ll split the dataset, train different classifiers, and see how they perform.
Thanks for following along.